| On This Page |
|---|

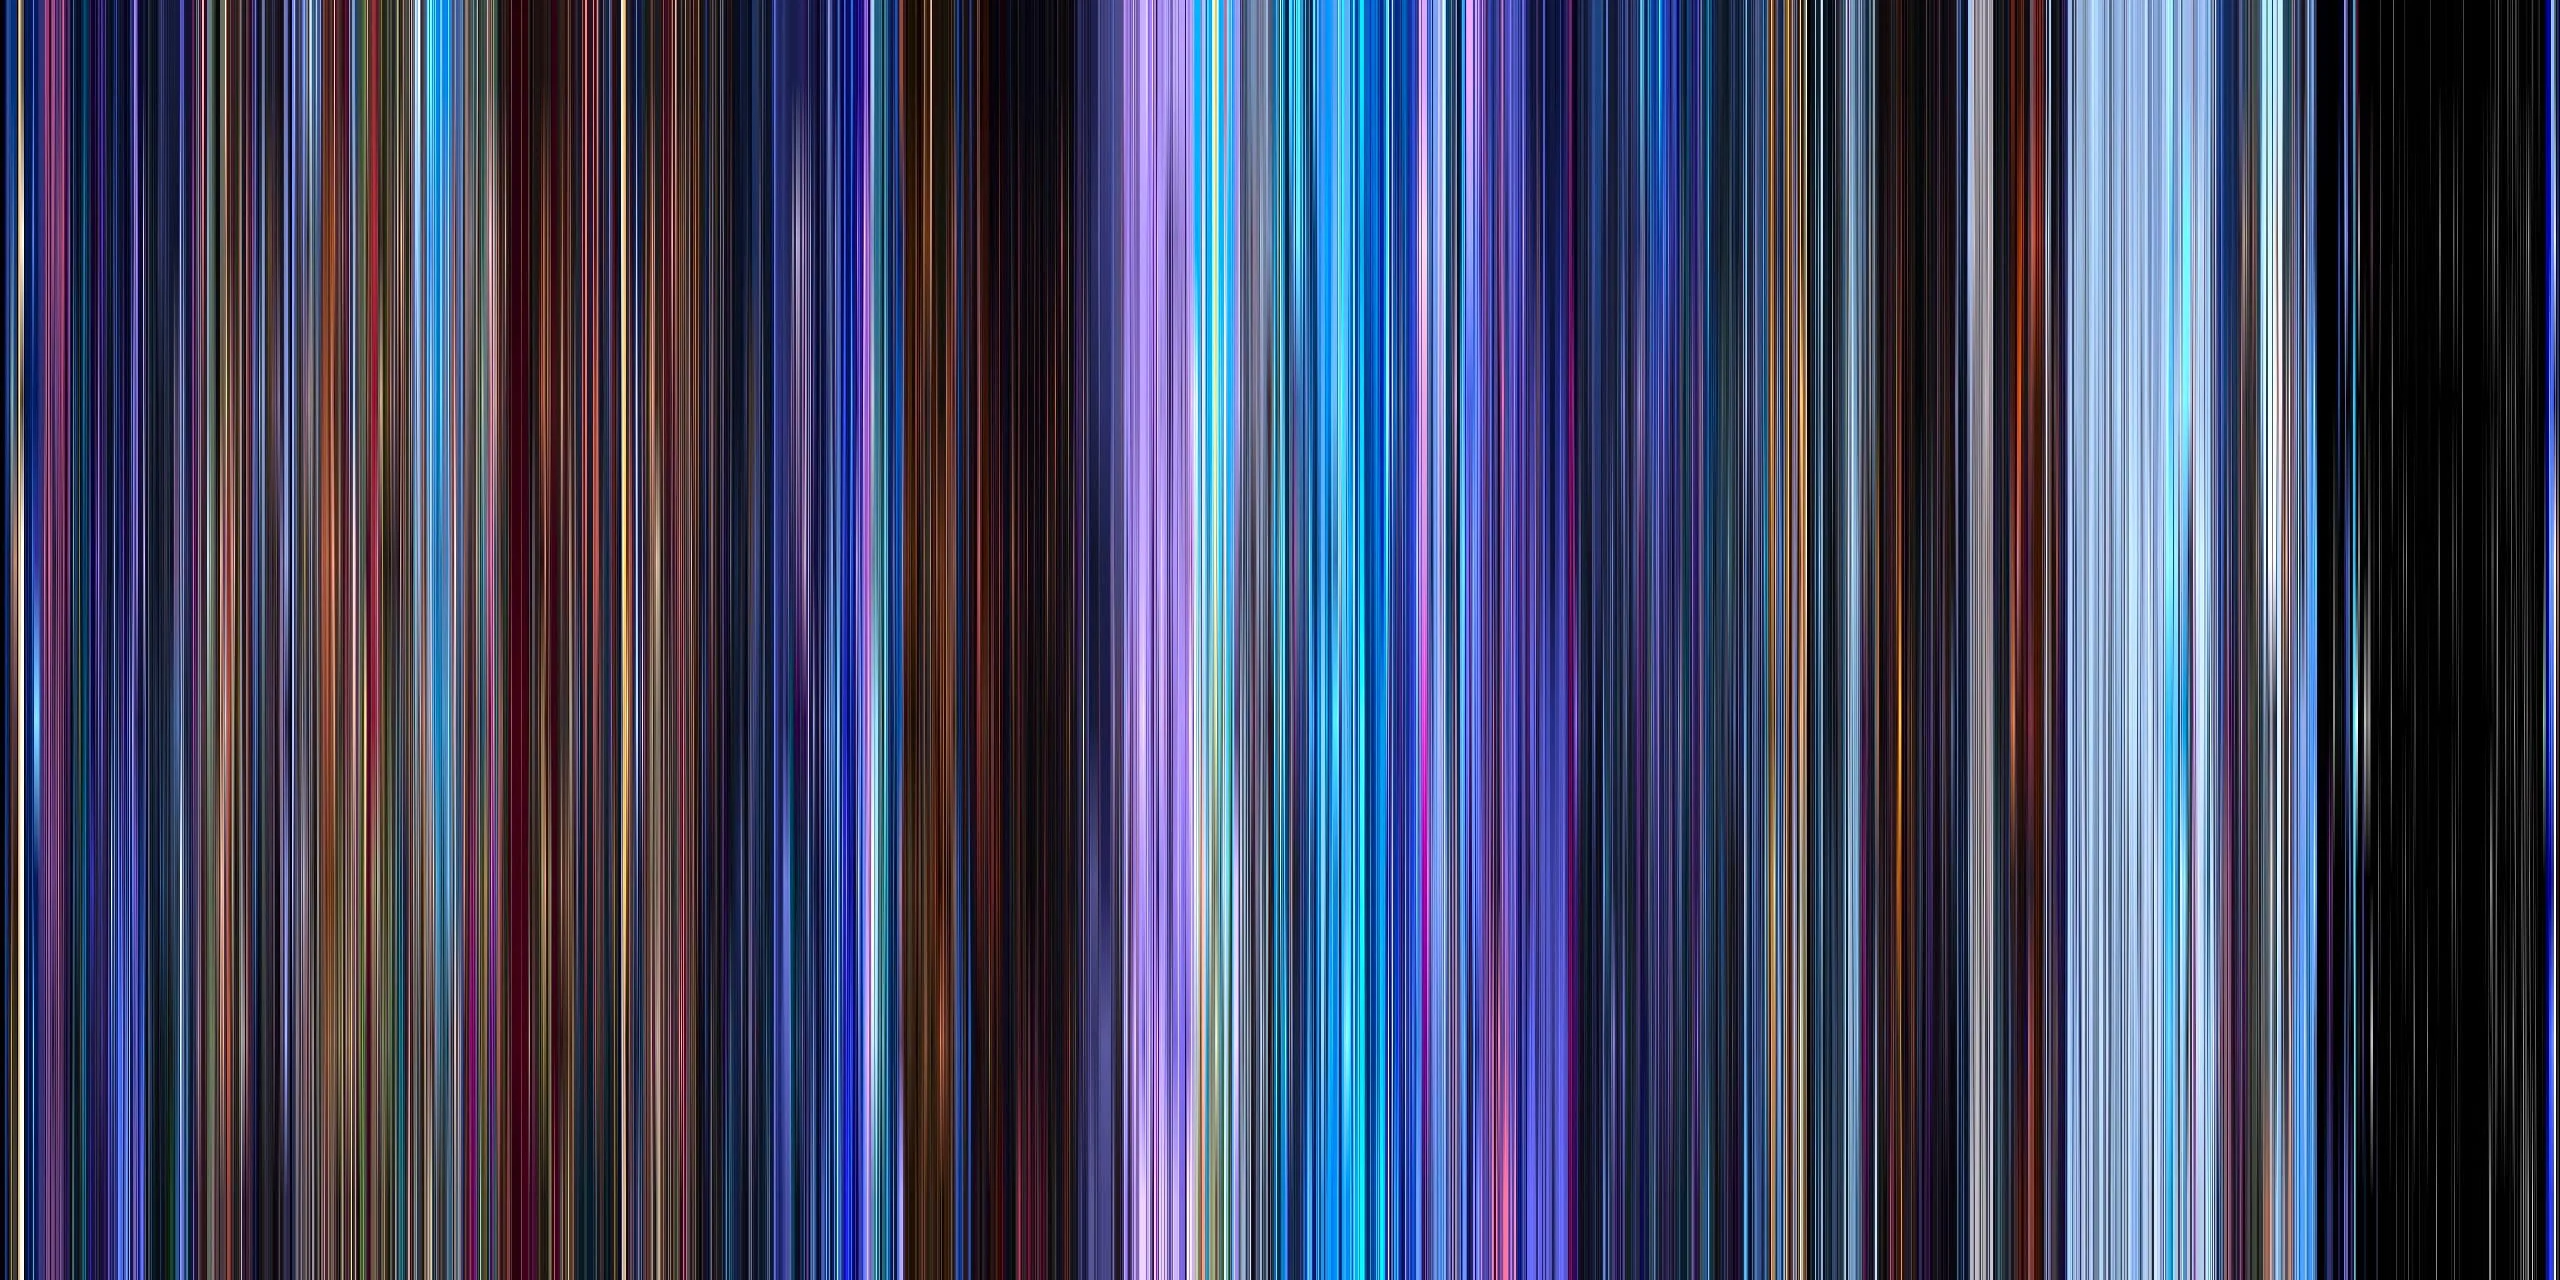
I stumbled upon a visually captivating concept that lives at the intersection of film and cinematography: movie barcodes. Intrigued, I decided to create my very own movie barcode with a couple of personal flares to boot.
We're all familiar with vanilla barcodes, but what is a movie barcode? To answer that, I'll defer to self-described engineer, space lover, and tea drinker Thomas Poulet.
A Movie Barcode is the color identity card of the movie. For each frame you take the dominant color and create a stripe out of it. The result is an overview of the overall mood of the movie.
In essence, a movie barcode is a visual representation of the color palette used in a movie. Today, our task is to build our very own movie barcode and hopefully learn some things in the process!
This build is implemented in C++ and uses the following packages: OpenCV, Boost, and spdlog.
Here, I sketch the procedure. I'll also include customizations and optimizations.
Vanilla Procedure
There are four steps involved in creating a movie barcode.
- Read Frames
- Chunk
- Average (Row-Wise)
- Merge
In plain English, we start off by reading each frame of the film in order. Once the frames are read, the next step is to chunk them into manageable sections. Following this, colors are averaged row-wise, allowing us to represent the entire chunk as a single bar. Finally, these bars are merged together to form the final movie barcode.
Customization and Settings
Customizing a movie barcode enhances its visual appeal. One change that immediately comes to mind is experimenting with different color spaces such as RGB, HSV, or LAB. Another customization involves scaling the bars, possibly achieved through interpolation, introducing a jagged comb-like effect. Transforming the barcode opens up even more possibilities! In short, there is no shortage of possibilities when creating movie barcodes.
Tips and Tricks
When creating movie barcodes, a couple of tips can optimize the process. For time complexity, consider leveraging parallel computing techniques. By distributing the workload across multiple processors, you can substantially accelerate the merging step. Here is one possible implementation:
For space complexity, pay attention to garbage collection. Regularly clearing out unused memory and resources (i.e., frames) helps the program avoid getting bogged down by unnecessary data.
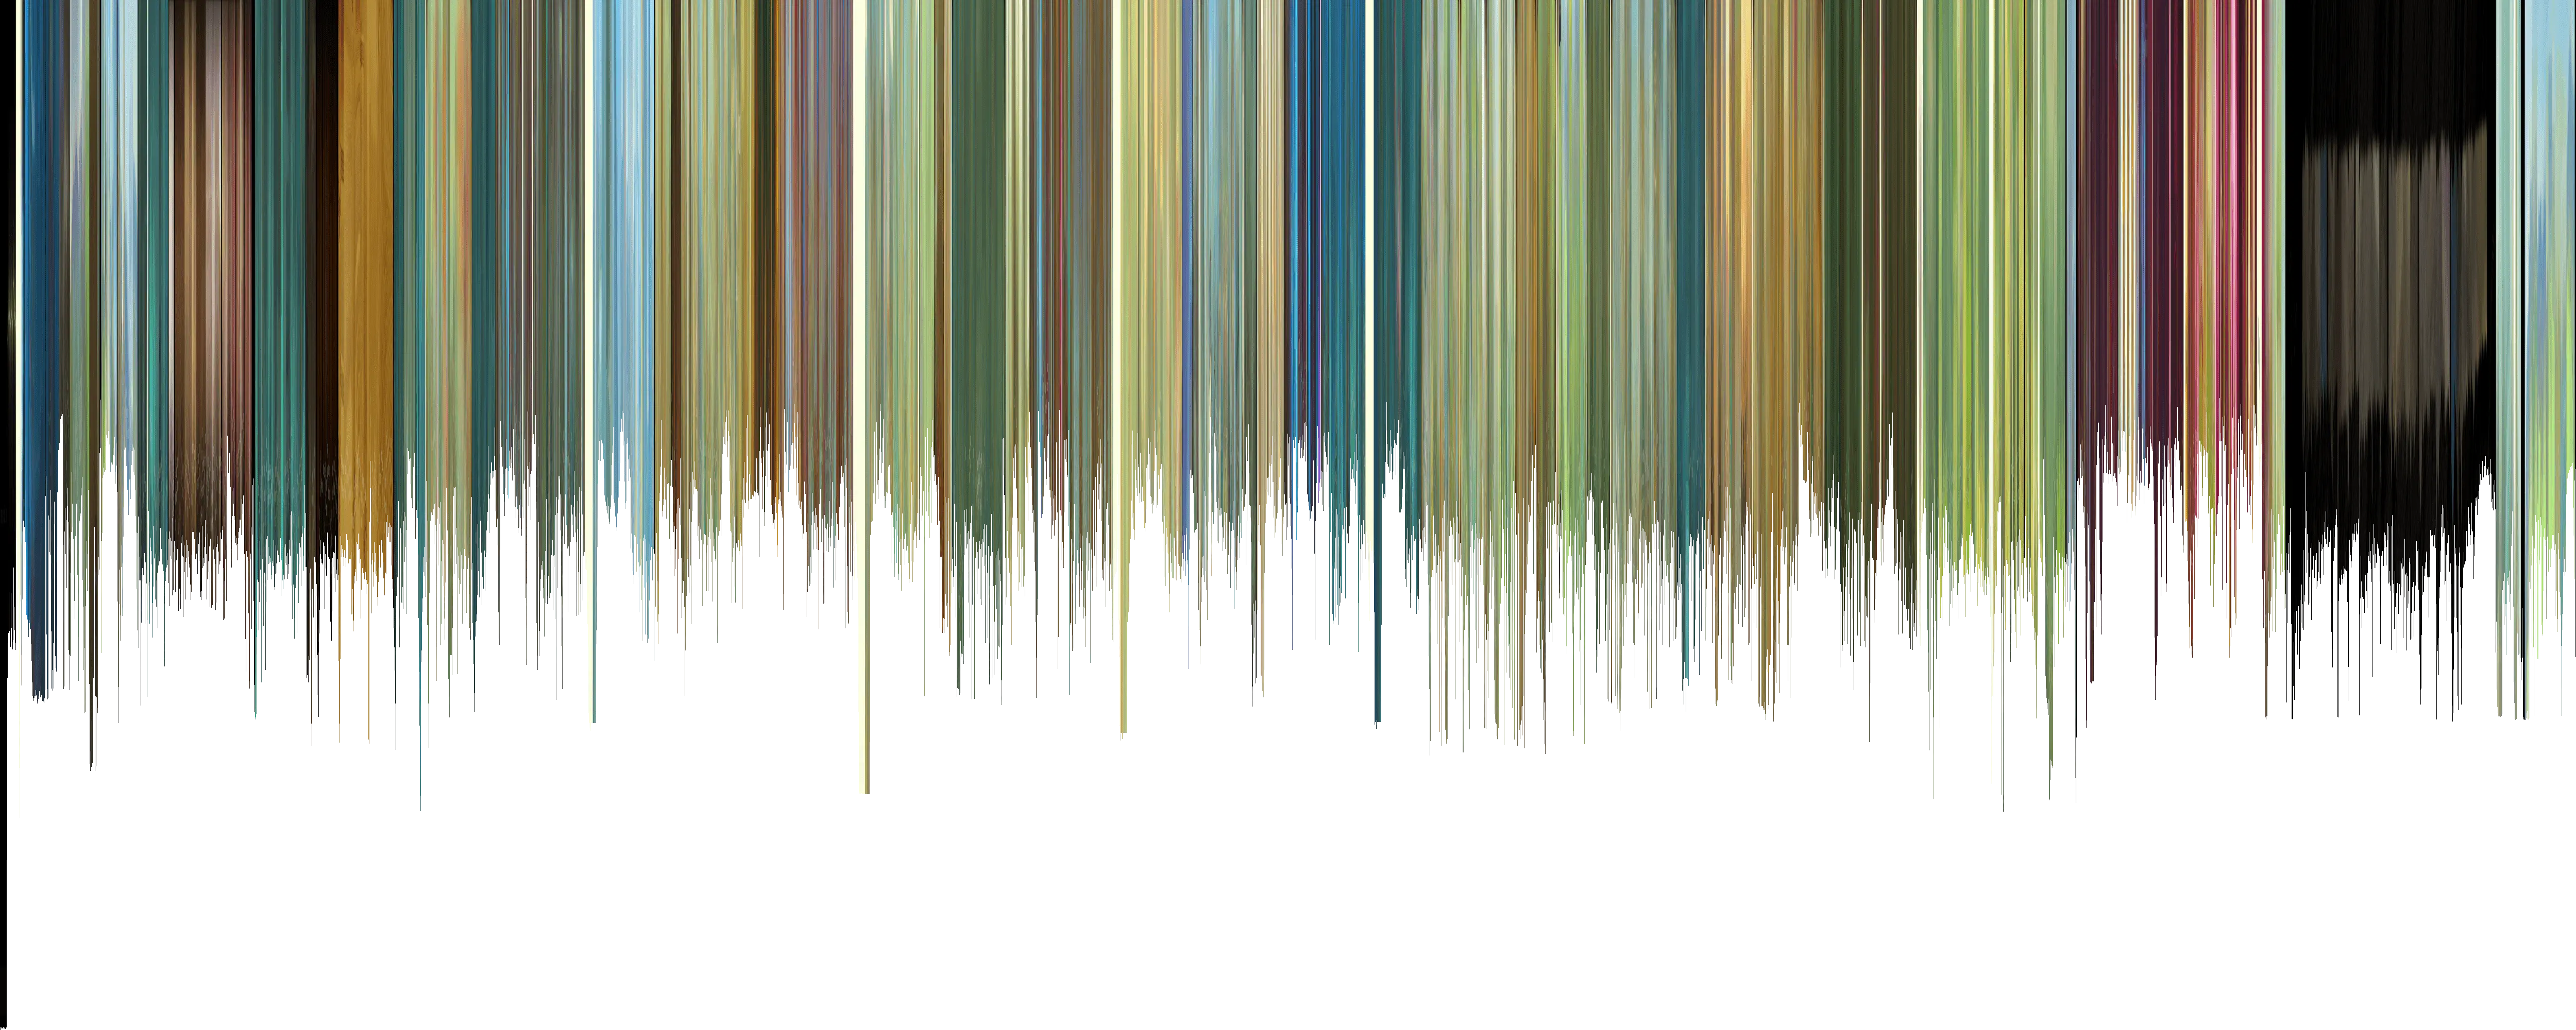
The Legend of Zelda is an action-adventure video game series created by Nintendo in 1986. It features the adventures of Link as he quests to rescue Princess Zelda and defeat Ganon. Known for its innovative game design and recurring themes of exploration and heroism, the series has become a flagship franchise for Nintendo. In honor of the release of Breath of the Wild, I decided to make a barcode of all the cut scenes from the game play.

As you may have noticed, this particular barcode implements the customizations discussed above. The bars are linearly scaled depending on the average decibel output of the associated chunk.
If you're interested in movie barcodes, I would definitely recommend checking out Thomas Poulet's post on movie barcodes. It is by far the prototypical source on the matter. I would also encourage you to support the good folks at BeardBear's YouTube Channel since they packaged all the TotK cut-scenes into a single, cohesive story line.